DIY Video Studio is supported by its readers. Please assume links on this site are affiliate links or ads, and that I get commissions for purchases made through these links. As an Amazon Associate, I earn from qualifying purchases. Thank you if you use any of the links.
Have you ever wondered what you can do in a photo or video shoot to flatter the looks of your talent? Well, you don’t have special beauty filters or an extensive knowledge of Photoshop. What you need is a light modifier like a softbox. But what is a softbox and what does a softbox do?

A softbox diffuses the light from your light source, creating a broad soft light. This can flatter your subject because soft light has the effect of smoothing shadows caused by facial lines and wrinkles. A softbox is also directional, especially if used with a grid, letting you direct the light where it is wanted and controlling light spill.
A softbox is a more advanced type of lighting and simulates what is known as North Light. That is the natural diffused daylight that comes from the north (or south, depending on your hemisphere). Which avoids the harsh shadows of direct sunlight. Next, I’ll explain how the softbox design produces soft light.
Last update on 2023-09-21 / Affiliate links / Images from Amazon Product Advertising API
How does a softbox produce soft light?
The design of a softbox includes up to six elements to create a source of soft light. These are as follows:
- The light head/control box.
- One or more lamps (usually up to 5).
- A diffuser just in front of the lamps.
- An enclosure made from an opaque flexible material that surrounds the lamps.
- The main diffuser across the front of the softbox.
- Optional black Grid or Eggcrate to make the light more directional.
1: Light head
The light head/control box contains the wiring, safety fuse, control switches, and lamp holders.
2: Lamps
The lamps are screwed into the lamp holders and are normally low energy spiral compact fluorescent (CFL) bulbs or LEDs. They are often daylight rated, meaning they have a color temperature of about 5,500K. However, warm lights with a color temperature of about 3,200K are also used.
3: Internal diffuser
A square or rectangle of diffusing material, normally white translucent nylon, is placed in front of the lamps to help avoid a hot spot (or hot spots) on the front diffuser.
4: The softbox enclosure
The lamps and the first diffuser are surrounded by the opaque fabric enclosure. This is usually black on the outside with a reflective metallic silver coating inside. The enclosure is stretched to the designed shape over stiff metal rods that are secured to the light head. The reflective coating has the effect of bouncing the light around the inside of the enclosure, helping to produce a soft diffuse light.
5: Main diffuser
The light is softened further by the final diffusing material stretched across the opening of the enclosure. The depth of the enclosure is important. The greater the distance between the lamps and the front of the softbox, the less likely it is that you will have any hotspots on the front diffuser. The diffuser should be evenly lit across its whole surface so that the softbox can produce good quality soft lighting.
6: Optional grid or eggcrate
Some softboxes have a final element attached in front of the diffuser. This is the grid or egg crate. A black cellular material that channels the light forwards, helping to make the light more directional.
The design of the softbox produces soft directional light and helps to prevent light spill. The closer it is is to your subject the softer the light will appear.
How to use a softbox
As a rule of thumb, if you want softer light, you should move the softbox closer to your subject. This will make the soft light from the softbox more effective at softening the shadows on your subject.
The actual placement of your softbox or softboxes is a matter of personal preference. But for more-or-less “flat” lighting most photographers and videographers would use two softboxes and place them at about 45-degrees to either side of the line joining the subject and the camera.
The height of the softboxes is raised so the center of the softbox is above your subject’s head height. The softboxes are then directed down and towards the subject.
Make any necessary adjustments until you have the look you want.
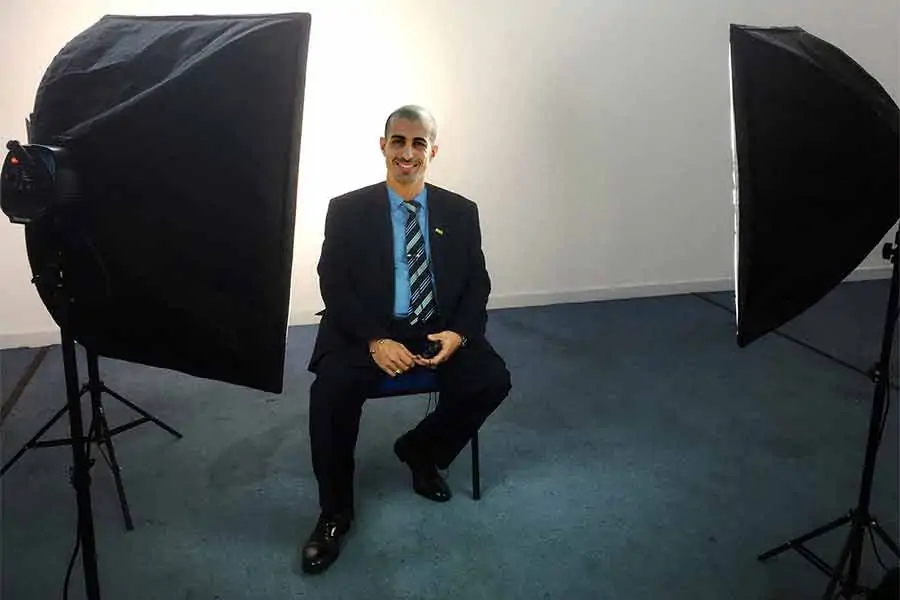
QUICK TIP: The closer the softbox to your subject the softer the light quality and its ability to smooth any shadows.
What size of softbox should I get?
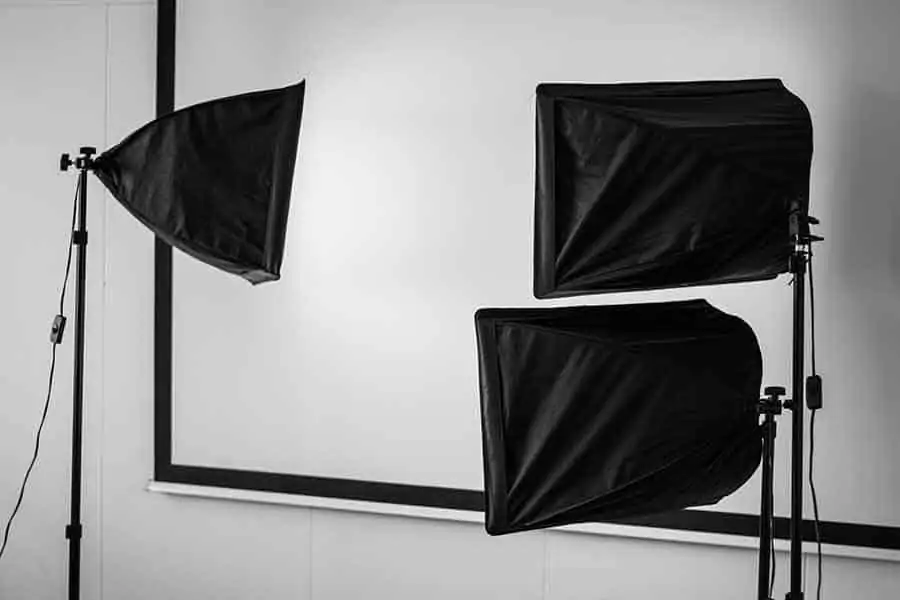
You can get softboxes in a range of shapes and sizes from small hoods that slip over a flashgun to something much larger than a person.
Naturally, the smaller softboxes are easier to transport, so the larger softboxes are more likely to be found in studios.
You might be surprised to hear that whatever the size of the softbox the coverage is approximately the same. At about 6ft, the spread of the light from a softbox will be about 12ft. With a fall-off of light intensity towards the edges.
Despite having approximately the same light spread, the reason softboxes come in various sizes is that the size determines how soft the light is, or the quality of the light.
Assuming the distance between the light and the subject remains the same, a large softbox will produce the softest shadows. A medium-sized softbox will create slightly harder shadows. Meanwhile, a small softbox creates shadows that are more defined.
So your choice of softbox; small, medium, or large; can be an artistic choice. However, the available space in your home studio is also likely to influence your choice. In general, the larger the better.
But the size of your softbox also depends on your intended framing.
Because softboxes are directional and because the closer they are to your subject the softer the light, you should try to match your softbox size to that of your subject. Although a softbox that is larger than your subject will be better than a softbox that is smaller than your subject.
Examples of softbox sizes you’ll need.
If you are recording a close-up talking head video (head and shoulders framing), you will need a softbox of about 20 to 24-inches.
Zooming out a little to a medium close-up (Head to the bottom of the chest) will require a softbox of about 28 to 36-inches.
Going to a medium-long shot (full height) will require either a couple of 36-inch softboxes or a single 55 to 79-inch strip softbox.
QUICK TIP: As a rule of thumb, the larger the softbox the softer the light it will produce.
Useful features to look for on a softbox
If your softbox has only one bulb the only way you can control the amount of light falling on your subject is to move the softbox closer or further from your subject.
A softbox that has multiple lamps that are each switchable, will give you different levels of light output. You can keep the softbox close to your subject but turn off some of the bulbs.
If you want to minimize light spill and make the softbox more directional you should choose one with a detachable black grid or egg crate. This will channel the light forwards rather than letting any spill off to the sides. There are some that are available separately from the softbox, but mostly you would have to buy a softbox kit that already includes a grid.
Another feature to look out for is the diffuser in front of the lamps and inside the enclosure. This helps to prevent light hotspots on the diffuser at the opening of the softbox. Make sure this internal diffuser is included before you buy. Although, if the budget is important, you may choose to do without this internal diffuser.
Some softboxes can take longer to set up
Depending on the design of the softbox, it can take up to 10 minutes to assemble. My original softboxes have steel rods that shape the enclosures. They slot into the corners of the enclosure and the other ends pop into mounting holes on the light head. It’s fiddly and time-consuming.
A better design, or at least one that will save you time during setup, is the umbrella softbox type. Struts support the enclosure so the softbox is easy to open and fold down again. You can literally have the softbox enclosure set up in seconds. This is now my preferred type of softbox because of the ease of use and time-saving. Note that you will need to buy the light head and bulb separately.
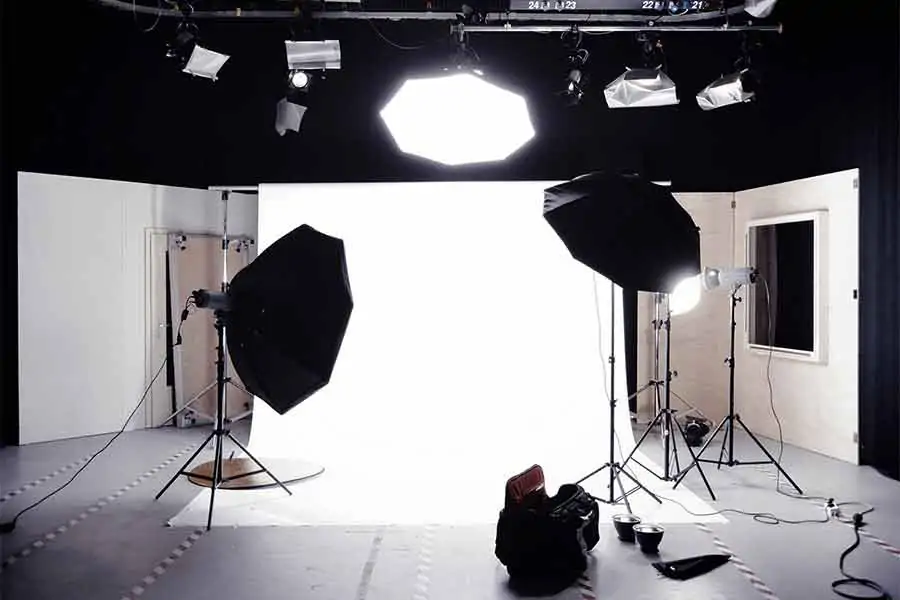
Neewer produces 32 inch/80 centimeters and 47 inch/120cm Octagon Umbrella Softboxes that is suitable for portrait/product photography or talking head type videos.
- The light diffusion surface diameter is 47"/120cm, with wide range of applications, suitable for...
- It is a soft box when being spread and like an umbrella when being folded, easy to use.
- The umbrella body made of high-density nylon material, high reflective
- Double metal frame, light and solid.
Last update on 2025-10-20 / Affiliate links / Images from Amazon Product Advertising API
Softboxes are better for permanent indoor studio setups
Softboxes are probably better suited to permanent studio layouts. Most of the softboxes available on Amazon take their power from a mains outlet. Again, making them better for indoor studio spaces.
If you do not have a permanent studio space but still want the control that softboxes offer, consider storing them as assembled lights. Store them in a large cupboard, spare room, or even in the corner of your room. This approach will save you time in setting up each time you do a video recording session.
Pros and cons of Softboxes
What we like about Softbox lights
- The light from a softbox can be directed exactly where you want it, with a minimal amount of light spill.
- The amount of diffusion can easily be increased by adding extra layers of nylon diffuser fabric.
- Brightness can be adjusted if you choose a model with multiple lamps.
- You can get a softbox light close to your subject.
- Makes product demos and unboxings look more attractive.
- Softens the shadow you cast on your backdrop.
What we don’t like about Softbox lights
- Traditional softboxes take a long time to assemble.
- Usually requires mains power.
- Take up a lot of space.
Video tutorial about Softboxes
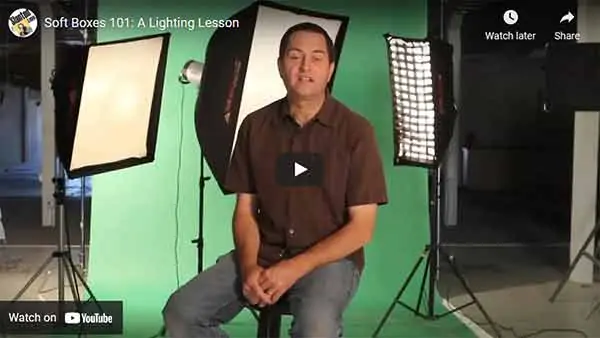
You may wish to view this video from Slanted Lens. JP Morgan speaks about using softboxes in portrait photography, but the principles are the same for using softboxes for YouTube videos.
You may also like…
- Umbrella Studio Lighting Kit for Beginners
- Using Canon Custom White Balance Settings on EOS R / R5 / R6
- How to use Umbrella Lights in video
- Best Light Bulbs for YouTube video recording
- Softbox vs umbrella lighting for video: Best one to buy
- Best LED Light for Video Shooting
- How to Avoid Glare on Glasses in Zoom Video
- Do YouTubers use teleprompters for their videos?
Tosh Lubek runs an audio and video production business in the UK and has been using the Canon EOS R since it was released in the Autumn of 2018. He has used the camera to shoot TV commercials for Sky TV, promotional business videos, videos of events and functions, and YouTube creator content. He has also won international awards for his advertising and promotional work. You can meet by visiting his “video booth” at HashTag business events across the country.
Recent Posts
Most people use sandbags the wrong way. Here’s how to hang them properly on a light stand for maximum stability and safety — plus what to fill them with.
You're Using the Canon RF 50mm f/1.8 WRONG! Here’s How to Fix It
If you’ve recently picked up the Canon RF 50mm f/1.8 STM—affectionately known as the Nifty Fifty—you might be confused by that strange switch on the side of the lens. It doesn’t say AF/MF...


