Author: Tosh Lubek Published: 27 June 2024
DIY Video Studio is supported by its readers who use the affiliate links or ads on this site. As an Amazon Associate, I earn from qualifying purchases. Thank your support if you use any of the links.
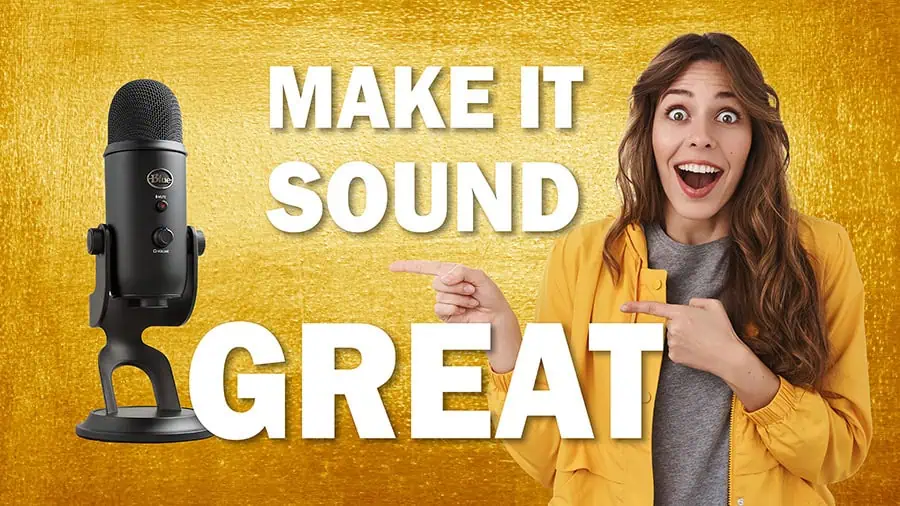
Welcome to the DIY Video Studio blog from Tosh Lubek Productions! In this post, I’ll be going over the steps to set up your Blue Yeti USB microphone for crisp, clear audio on Zoom calls, live streams, and YouTube videos, based on my latest YouTube video on the @DIYVideoStudio channel. You wan watch the video and read the summary right here.
Isolating the Yeti from Desktop Vibrations
The desktop microphone stand that comes with the Yeti can transmit vibrations from your desk to the microphone, causing unwanted noise. To address this, I use a one-inch thick piece of coarse aquarium or pond filter foam. I used a one-inch thick (25mm) sheet of coarse foam with a PPI (pores per inch) of 30. I found a 12-inch by 9-inch aquarium filter pad at a budget price of around $6.50 on eBay, but found similar filter pads on Amazon USA and Amazon UK
. Simply place the foam sheet under the Yeti to isolate it from the desk.
Setting the Polar Pattern and Microphone Position
Now, let’s focus on the Yeti itself. It has a dial on the back that controls the polar pattern, which is the direction the mic picks up sound from. The symbol that looks like a heart is cardioid mode, which is perfect for capturing your voice and reducing sounds from the sides and back. Turn the dial to select this polar pattern. This mode is ideal for single audio sources like speaking directly into the microphone.
When speaking, aim for the side of the microphone with the Blue Yeti logo. This is the most sensitive side. Tilt the microphone so the logo faces your mouth and position it 6 to 8 inches away, roughly the distance between your extended pinky and thumb. Tighten the thumbscrews to secure the microphone in place.
Connecting the Yeti and Adjusting Audio Levels
The Yeti is a plug-and-play device, meaning it should connect to your computer automatically via the included USB cable. For devices with only USB-C ports, a mini USB to USB-C cable is recommended (link in the video description).
Since condenser microphones are sensitive, you might need to adjust the input volume in your computer’s sound settings. The video recommends lowering it to around 50% or even 30%. The gain knob on the Yeti itself can then be set to around the 12 o’clock position for most voices. Experiment and adjust based on your preferences.
Muting, Power, and Using Headphones
Double-check that the microphone isn’t muted. The mute button is located on the front, below the Blue Yeti logo. A solid red light indicates mute status, while a flashing light means the microphone is muted. Simply press the button to unmute.
If the light isn’t on at all, ensure the USB cable is securely connected or try a different USB port or cable.
For monitoring purposes while recording, plug headphones into the headphone jack on the base of the Yeti. This allows you to hear yourself and your computer’s output with zero latency. The headphone volume can be adjusted using the knob on the front of the Yeti.
Ready to Record!
With these steps followed, you’re now ready to record using your favorite Digital Audio Workstation (DAW) software, such as Audacity, Adobe Audition, or Reaper. The Yeti can also be used for crystal-clear audio on video calls and live streams.
For more content creation tips and tricks, check out the @DIYVideoStudio channel on YouTube and browse through my other videos!
Need a new Blue Yeti Microphone?
If you haven’t got yourself one of these now classic USB microphones, I’ve sought out the best deal on Amazon. Use this link to grab yourself a bargain.
About the author: Tosh Lubek is a multi-award-winning broadcaster, writer, and video producer, with 40 years of experience in professional broadcasting and has been using Canon video and stills cameras since 2010. He has worked with radio and TV broadcasters, advertising agencies, and direct clients on a variety of projects including radio and television advertising, online video production, corporate videos, award ceremony motion graphics, and theme park sound design. Tosh has won numerous awards, including a Radio Academy Awards Gold Sony, a Gold, Silver, and Bronze World Medals in the New York Festivals International Advertising Awards. Since about 2007 he has been creating YouTube videos. Tosh has been a sponsor of the “video booth” at HashTag Business Events across the UK.
Recent Posts
Recently, I shot several customer testimonial videos in 4K for a client when the overheating warning on my Canon EOS R6 appeared. In fact, it appeared three times in five sessions during the day of...
Why Every Photographer Should Have a Nifty-Fifty 50mm f/1.8 Lens
If there’s one lens nearly every photographer should own, it’s the 50mm f/1.8 - better known as the “nifty fifty.” This affordable lens provides impressive quality and versatility, making it...


