DIY Video Studio is supported by its readers who use the affiliate links or ads on this site. As an Amazon Associate, I earn from qualifying purchases. Thank your support if you use any of the links.
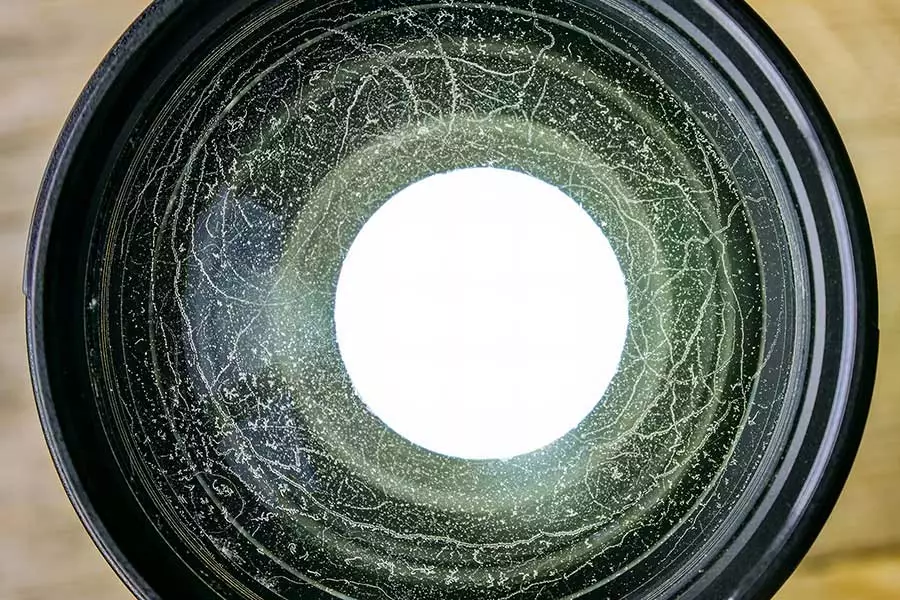
Airborne fungal spores can get into a camera lens over time, where they can settle on optical surfaces. Under the correct conditions, the spores can develop into fungus and spread across the lens surface, feeding on organic dust particles and the oils from fingerprints. Left unchecked, the fungus can even eat into lens coatings and the glass surface because of the hydrofluoric acid it produces as a waste product of digestion.
Camera lens fungal growth can be stopped by killing the fungus with exposure to bright sunlight or UV light. Fungus on exterior lens surfaces can be cleaned with lens tissue and cleaning fluid. Internal fungus growth requires cleaning by a professional. Only disassemble a lens yourself if you know what you are doing.
In this article, we will discuss some tips on how you can prevent fungus from growing in your camera lens as well as how to clean off any fungus that has grown so it does not come back! Keep reading to learn how to get rid of camera lens fungus on your camera!
What Can You Do to Get Rid of Camera Lens Fungus?
There are a couple of different ways to get rid of camera lens fungus. The fungus can quickly spread into your lens causing a threadlike haze on the glass that can reduce contrast and impair image quality.
However, some options are a more permanent solution than others. Here are six ways to remove fungus from a camera lens.
Use Natural Sunlight

One of the easiest ways to kill the fungus growing on your camera lens so it stops spreading is sunlight. Place your camera lens in bright sunlight for 45 minutes. A day or two would be even better.
This will not remove the already growing fungal hyphae, but it can kill them and stop them from spreading. The biggest issue with this method is that you may not kill all of the spores inside the housing. So, you could have a recurring issue if the only solution you use is sunlight.
This method does not remove the fungus, it only kills it and stops it from spreading.
If you choose this method, make sure the lens is positioned such that you do not aim the lens at anything flammable. Sunlight magnified and pinpointed on one location for an extended period can cause the surrounding material to catch on fire if it is flammable.
Furthermore, you should not leave the lens on your camera body when using sunlight. The sun’s rays will be concentrated onto the camera’s shutter, potentially burning a hole through it and possibly damaging the camera sensor.
Try a UVC Light
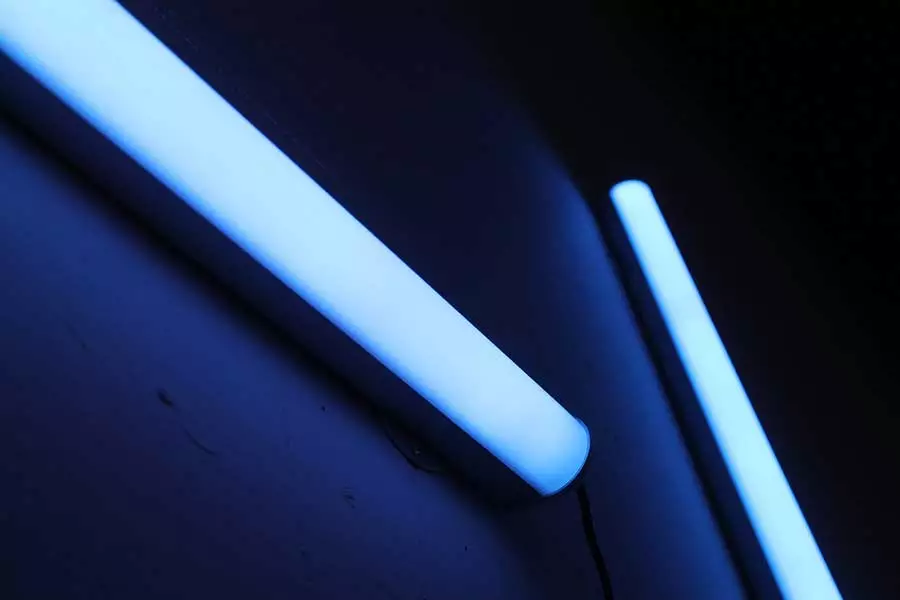
UVC light can be used in a process known as ultraviolet germicidal irradiation to kill bacteria, viruses, and fungal spores. This disinfection method is frequently used in hospitals but can also be used to treat a lens.
UVC lamps were promoted online near the start of the pandemic as a way of sanitizing camera and video gear without the need for sprays or gels that might otherwise damage the equipment.
The UVC light kills fungus and other microorganisms, such as bacteria and viruses, on hard surfaces like camera lenses without causing damage to the surface or leaving behind any residue of its own.
This method will not leave any residue that could be harmful to your camera lens either. Like the previous method of sunlight, this option too will not remove any of the fungal growth, it will simply kill it.
Take it to a Professional for Cleaning
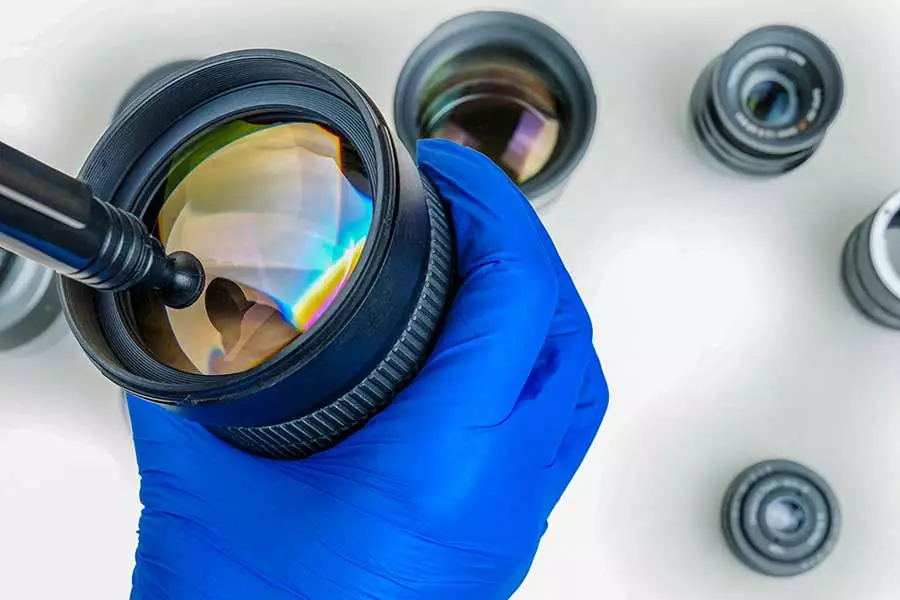
One of the best options you have if your camera lens becomes infected by a fungus is to bring it to a professional for cleaning.
A professional will be able to assess the fungus and its growth on your camera lens as well as assess whether it can be removed without causing any damage to your camera lens.
If you opt for this option, you will have the peace of mind that the job will be done right. Choose a professional that has a good track record and will guarantee their services.
One of the best parts about a professional cleaning is that it almost guarantees the fungus will be gone for good because, going forward, you can take the proper steps to prevent any more fungal growth.
Clean the Front and Rear Elements of your Camera Lens Yourself
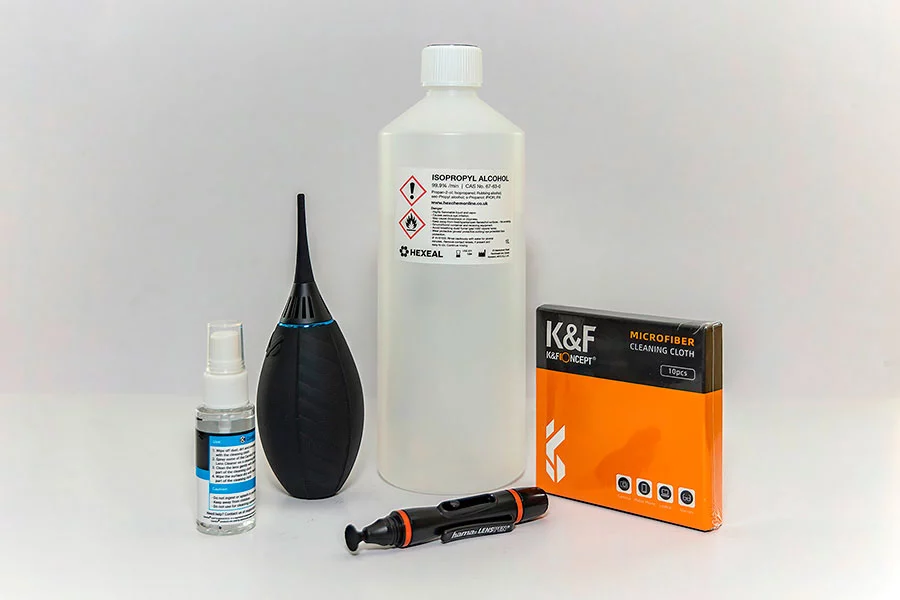
If the fungus is on the outside faces of the front or rear element it should be easy to clean off the fungus yourself, although you may need some tools. These will include a microfiber cloth, lens pen, and lens cleaning fluid.
Apply a few drops of lens cleaning fluid to the cloth and wipe it in a circular pattern to remove the fungus. If the fungus does not come away easily do not apply too much pressure since this may lead to scratching the lens surface. Just keep wiping lightly. If the fungus is stubborn you may need to use something a little stronger than lens cleaning fluid. I have had success with a small amount of 6% hydrogen peroxide solution. Once it had performed its magic, I gave the lens a further clean with ordinary lens cleaning fluid to ensure no residues were left.
Clean the Inside Surfaces of Your Camera Lens Yourself (Not Recommended for Novices)
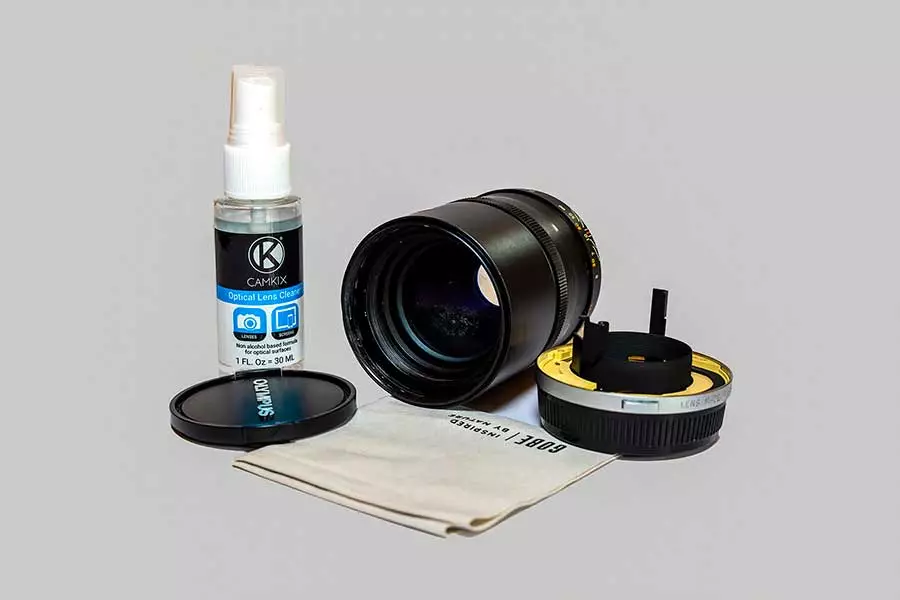
If you have tried the other options and do not want to take it to a professional, you can clean the camera lens yourself. However, this method involves taking the lens apart and you may end up doing unrepairable damage if you are not careful or are unsure of the necessary procedure.
By repairing the camera lens by yourself, you also will likely void any warranties you have on your camera lens. Do not try this method if you are unsure about what you are doing, because it can cause permanent damage to your camera lens and will not be covered under warranty.
We will not go into too much detail on this method, because we do not recommend you take apart the camera lens yourself. It is always best to take these issues to a professional especially if the lens costs you a pretty penny.
If you do wish to open your lens, I would recommend learning some lens repair skills through watching YouTube videos and hands-on experience. Many vintage Olympus OM-System Zuiko lenses are inexpensive and good to practice with. Some of these lenses are similar internally, so a good starting point would be the 50mm f1.8 lens. You can pick one up on eBay for around $30, although you’ll also need some specialist tools. These may include a lens wrench with curved tips, a set of rubber lens removal rings, and, ideally, JIS precision screwdrivers.
You can find many how-to videos on YouTube that will guide you through the disassembly of these lenses and how the fungus can be cleaned from the lens elements.
Buy a Replacement Part or Camera Lens
Sometimes the quote you get from a professional for cleaning is more expensive than the camera lens originally cost you. In this case, it might be more beneficial to you to buy a replacement part or lens.
In most cases, fungus grows on the outer layer of the lens elements that make up the glass. If fungus is found growing inside the lens on the other elements, like the aperture blades, then it may be best to replace the lens. And this is even more true if the lens was inexpensive, or if the lens costs too much to repair.
Prevent Fungus Growth in the First Place
You can do a lot to prevent fungal growth from ever happening to your camera lenses.
The easiest way to protect your camera lens is to keep it dry and use it regularly. The optics will be exposed to UV radiation in sunlight and kill the fungus if it were to get started. But this approach will only work if you do not fit a UV filter to the front of your lens.
If you have more than one lens their proper storage is your best strategy to prevent lens fungal growth.
Lens fungus thrives in darker conditions and when the relative humidity is 70% or higher and in temperatures of 10-35°C. So dry and warm storage is recommended, with a relative humidity of between 30-60% and a temperature of around 40°C. But do not exceed a temperature of 50°C and humidity of below 30%.
Ensure the lens is completely dry before returning it to storage. Wipe it down with a dry towel when you get home (not the glass lens elements). If you have been shooting in cold weather, bringing the cold lens into a warm room may cause a layer of condensation on the cold lens surface and lens barrel. Allow the lens to come up to room temperature so that the moisture can evaporate.
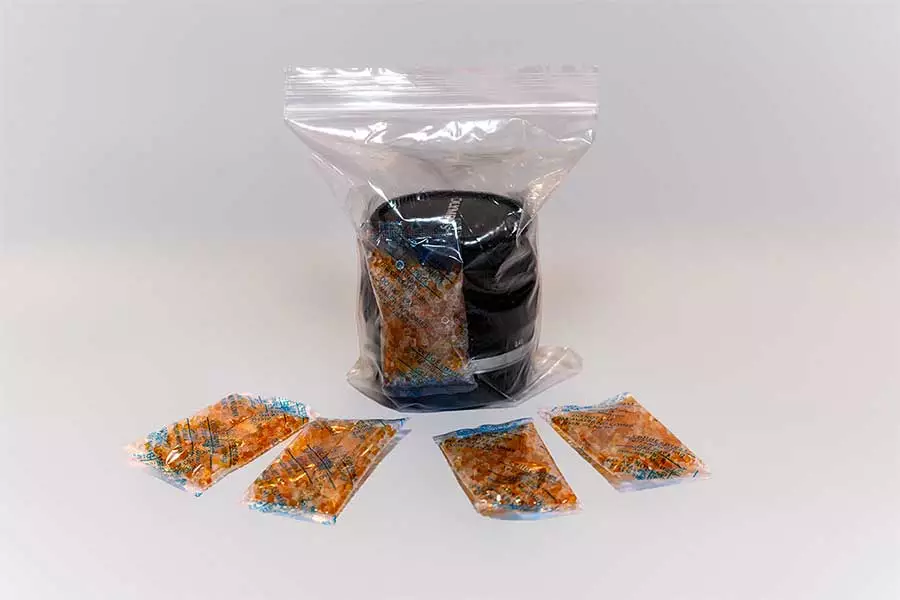
When storing your camera lens in a case or container add a packet of desiccant, such as silica gel. The desiccant will help remove unwanted moisture from the air and lens, creating conditions that will help prevent lens fungus to thrive.
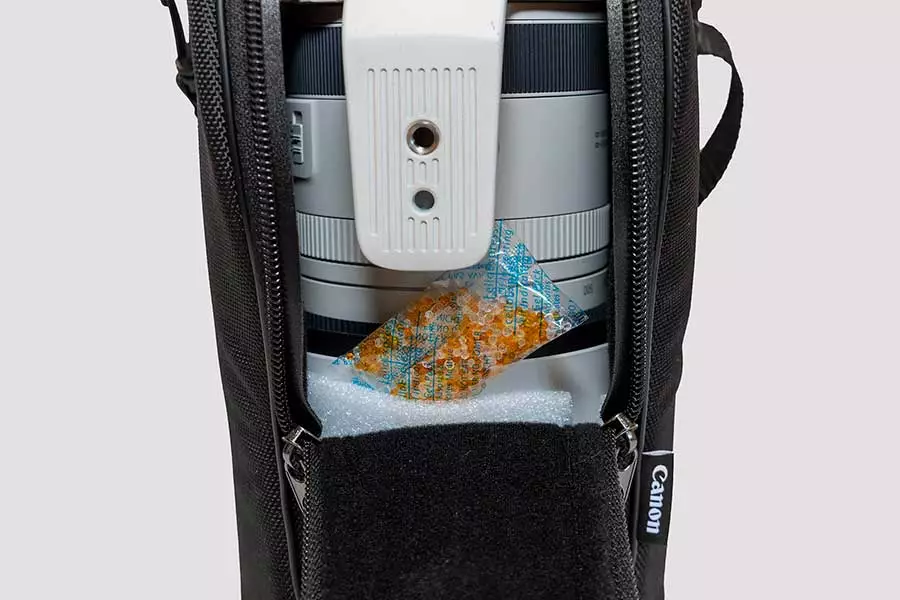
If you do not have a lens case, consider keeping the lens in a plastic ziplock back with a packet of silica gel desiccant.
Furthermore, since fungus grows by consuming organic matter, you should check that the front and rear lens elements are clear of dust and fibers that might otherwise be a food source for the fungus. Use a lens brush or air blower to clear away any dust or fibers before putting on the lens caps.
The final thing to do is to make sure you store your lenses away from any that have, or you suspect might have fungus. Fungus spores are tiny and can contaminate other lenses kept in the same storage.
In Summary: Prevent Fungus, So You Never Need to Clean It
In conclusion, getting fungus on your camera lens is not something you want to deal with as a photographer or videographer. And this is especially true if you have expensive lenses.
Store your camera lens in warm and dry conditions. Take the lens off the camera body and expose the glass elements to bright sunlight so that UV light kills any fungus if it starts. Seek the advice and help of a professional if the inside of the lens needs to be disassembled and cleaned.
Lens Fungus FAQ
What causes fungus in camera lenses?
Fungal spores can settle on or enter a lens barrel. For the fungus to develop it needs dark, humid, and warm conditions plus a source of organic material to feed on. The material can be organic dust particles, fibers, and oil residues from fingerprints.
Do modern lenses get fungus?
Although fungal growth may seem less prevalent in modern lenses, it is not impossible. In areas of high humidity and temperature fungal growth can still be a problem. To safeguard against fungus, keep lenses clean, dry and expose them to the UV rays in sunlight.
Is it safe to use a lens with fungus?
Fungal spores need warm, humid, and dark conditions for fungus to develop. Under normal photography operating conditions, it is safe to use a lens with some fungus with other equipment. If concerned kill the fungus first by exposing the lens elements to bright sunlight or UV light for an hour or two.
Can lens fungus be removed from a camera lens?
Hydrogen peroxide and ammonia, diluted isopropyl alcohol, diluted vinegar, or even washing up detergent can be used to remove fungus from a lens. If the fungus is on the inside surface, the lens will need dismantling. With modern lenses, internal cleaning is usually a professional and expensive job.
Tosh Lubek runs an audio and video production business in the UK and has been using the Canon EOS R since it was released in the Autumn of 2018 and the Canon EOS R6 in 2020. He has used both cameras to shoot TV commercials broadcast on Sky TV, promotional business videos, videos of events and functions, and YouTube creator content. He has also won several international awards for his advertising and promotional work. You can meet him by visiting his “video booth” at HashTag Business Events across the country.
Recent Posts
Recently, I shot several customer testimonial videos in 4K for a client when the overheating warning on my Canon EOS R6 appeared. In fact, it appeared three times in five sessions during the day of...
Why Every Photographer Should Have a Nifty-Fifty 50mm f/1.8 Lens
If there’s one lens nearly every photographer should own, it’s the 50mm f/1.8 - better known as the “nifty fifty.” This affordable lens provides impressive quality and versatility, making it...


